Getting a clean, accurate cut starts with using the right kind of file. In laser cutting, vector files are the gold standard. That’s because vector files use mathematical paths to tell the machine exactly where to move, cut, or engrave. Unlike images made of pixels, vectors keep your lines sharp and scalable at any size.
If your file isn’t vector-based, the laser may not follow your design properly. Instead of smooth curves or crisp corners, you could end up with jagged edges or blurry lines. And no one wants that—especially if you’re sending your project off to a laser cutting service.
File formats that work best with laser cutting service or cnc cutting machine
When preparing your design, always aim to save your work in a format that both a laser cutting service and a cnc cutting machine can understand. Common formats include SVG, DXF, and sometimes AI or PDF, depending on the software used.
Before sending anything off, it’s a good idea to double-check what your laser cutting service or cnc cutting services prefer. Every machine and shop may have different software, so asking first saves you time and avoids mistakes. The right file format makes the whole process faster, easier, and much more precise.
Keep Line Weights and Colours Simple
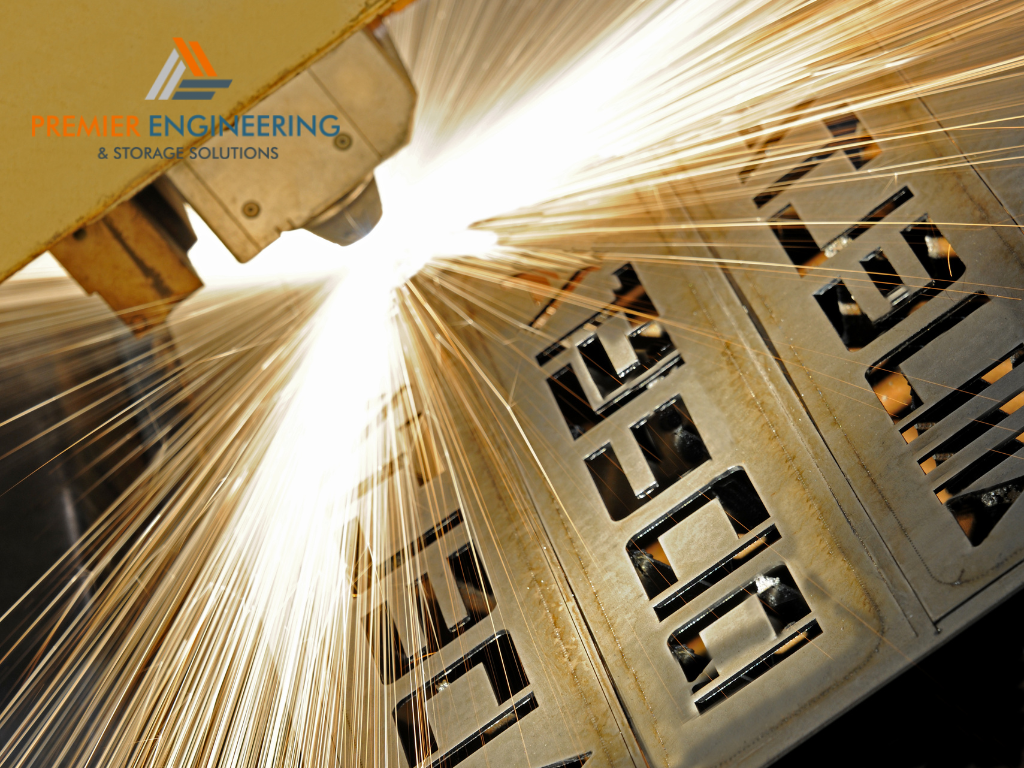
How thin lines improve precision
The thickness of your lines matters more than you might think. For both laser cutting and cnc cutting machine work, thin lines usually lead to better results. If your lines are too thick, the machine might interpret them as a path instead of a cut. That could mean missed details or extra cuts you didn’t plan for.
Sticking with hairline or 0.001mm-width lines is often the safest choice. These tiny lines tell the machine to cut right along them, resulting in smooth and accurate edges. You’ll notice the difference when your design fits together perfectly, especially if you’re creating layered or interlocking pieces.
Colour coding for different cuts or engraves
Colours can also help communicate with the machine, but only if used correctly. Many laser cutting service providers and cnc cutting services use colour-coded systems to separate cutting, scoring, and engraving tasks.
For example, red might mean “cut through,” blue could signal “engrave,” and green might be “score lightly.” Just keep it simple. Stick to one colour per function and make sure it matches what your service provider expects.
Account for Kerf in Your Design
What kerf is and why it affects accuracy
One of the most overlooked details in laser cutting is kerf. Simply put, kerf is the width of the material removed by the laser beam or the blade of a cnc cutting machine. Even though the cut is small, it still leaves a gap—and that gap adds up.
This is especially true for puzzle pieces, tabs, or anything that slides or snaps together. Kerf might be tiny, but it has a big impact on your final result.
Adjusting spacing for clean, tight-fitting cuts
To get a precise fit, you’ll want to slightly adjust your design to account for kerf. That means making slots a little narrower or adjusting overlaps so that everything fits the way it should. Many laser cutting service providers will offer a kerf value you can use when designing. If you’re working with cnc cutting services, they’ll likely have a similar specification based on the tool width of their cnc cutting machine.
Designing with kerf in mind from the start saves you from costly reprints or frustrating adjustments. It’s a small tweak that makes a huge difference in how professional your finished piece looks and feels.
Use Layered Designs to Maximise Detail
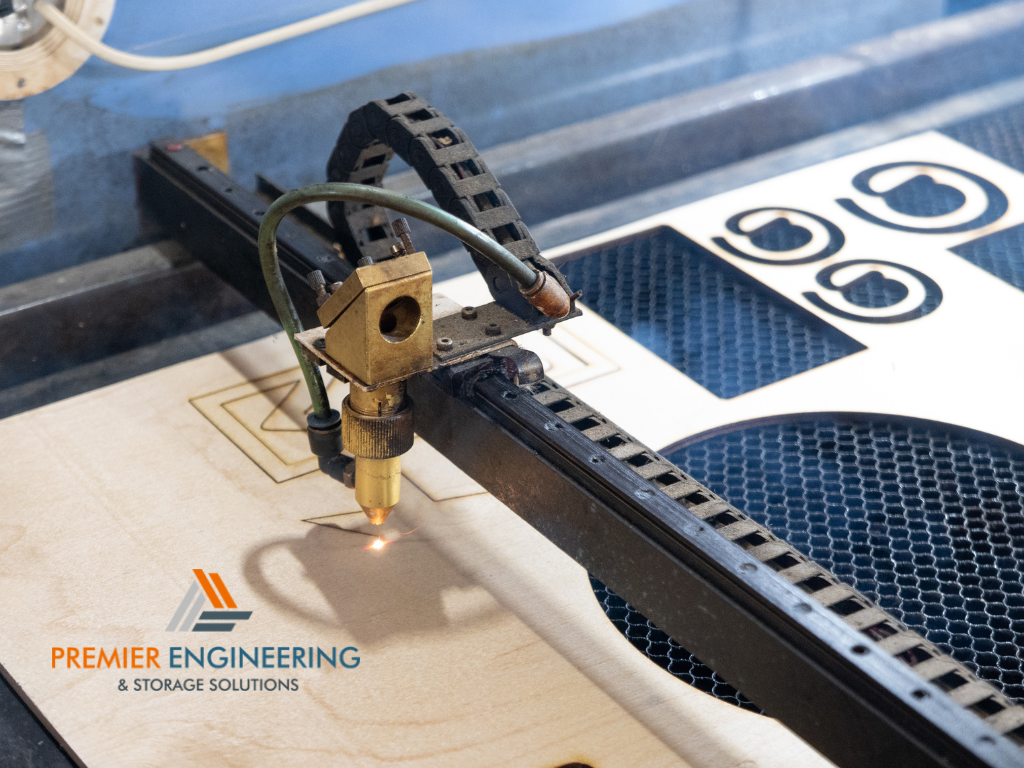
How layering brings depth to laser cutting projects
Layering is a great way to add depth and character to your laser cutting designs. Instead of cutting everything from one sheet, you can break your design into separate layers and stack them. This gives a three-dimensional effect, which is perfect for signage, wall art, or even custom gifts.
When layering, each piece needs to fit together neatly, so precision really matters. This is where earlier design choices—like accounting for kerf and using clean lines—come into play. A well-layered project looks impressive and feels professional, even if you’re just starting out.
Tips for aligning pieces after cnc cutting services
Once your pieces are cut, the next step is assembly—and getting the alignment right is key. Before you send your files to a laser cutting service or any cnc cutting services, make sure you include alignment markers or guidelines in the file. These small shapes or reference points help you line everything up once it’s time to glue or attach the layers.
Also, be sure to label your files clearly so your cnc cutting machine operator knows how each layer is meant to be used. The better your prep, the easier the final result comes together. It may take a little more time during design, but it saves a lot of effort when assembling.
Test Your Settings Before Full Production
Why test cuts help avoid wasted materials
Even with a great design, things can go wrong during cutting. That’s why running a small test cut is always a smart move. Before committing to a full sheet of material, test a section of your file on a scrap piece. This gives you a chance to check the cut quality, line precision, and depth.
Different materials respond in different ways, and even the same model of laser cutting or cnc cutting machine can behave slightly differently depending on settings and wear. A quick test cut helps avoid surprises—and wasted time and money. Most laser cutting service providers also welcome test requests before doing the full job.
Matching design files to the power of your laser or cnc cutting machine
Not all machines have the same capabilities. A basic home laser cutting unit might struggle with thick hardwood, while a professional cnc cutting machine can slice through it easily. That’s why it’s important to design based on what your machine—or your cnc cutting services provider—can handle.
If you’re not sure about the right settings, don’t guess. Ask your laser cutting service or cnc cutting services for a recommended power and speed guide. Then adjust your file to suit. You might need to simplify some details or break the job into sections if the material is too thick.
Work with a Laser Cutting Service That Understands Your Needs
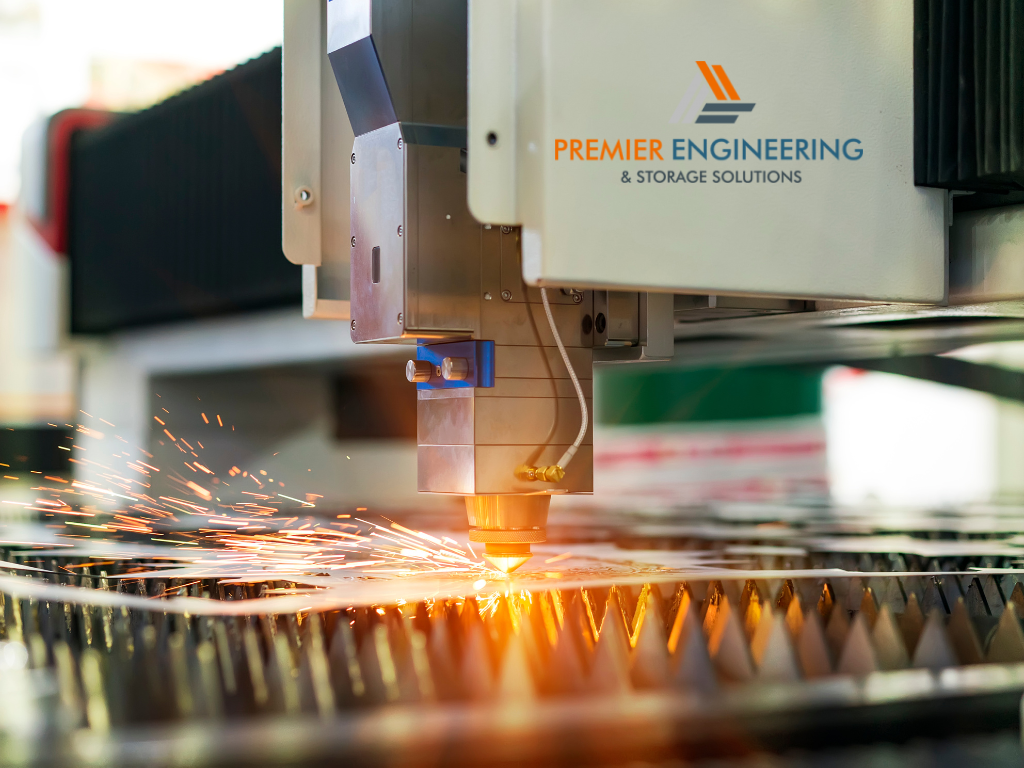
Sharing clear, editable files with your laser cutting service
The more prepared your design files are, the smoother your project will go. When working with a laser cutting service, make sure to send files that are clean, labelled, and ready to use. Editable formats like SVG, AI, or DXF are ideal. Keep the layers simple and use colour coding if needed—but only if the service supports it.
Always include a note that explains which parts should be cut, engraved, or scored. This avoids confusion and reduces the chances of errors. That’s why building a solid relationship with your provider is so helpful. Clear communication saves both time and material.
Questions to ask before choosing between laser cutting or cnc cutting services
If you’re unsure which option is best—laser cutting or cnc cutting services—start by asking a few questions. What materials are you using? How thick are they? Do you need sharp corners or smooth curves?
Laser cutting works well for fine details and thinner materials. A cnc cutting machine is better for deeper cuts or tougher materials like thick hardwood or metal. Each method has its strengths, so your choice depends on the job.
